Divi theme is quite popular and thus, we thought of providing an exclusive tutorial on how to create a 3D Flipbook in WordPress using PDF and dFlip flipbook plugin for WordPress. There are number of Flipbook Plugins for WordPress available, you can choose any of them. But today we’ll be using 3D Flipbook – dFlip Plugin for WordPress due to its simplicity and customizability. For this tutorial, you will be requiring:
- Divi theme, which you can download from Elegant Themes
- dFlip Flipbook Plugin, which you can get as a trial from WordPress repo or from the Premium site
What’s a Flipbook?
If you already know, what’s a flipbook, feel free to jump to the next section. Before diving into how to create PDF Flipbook, let’s know what exactly a Flipbook means. Flipbook is the simulation of a real book. It appears exactly like a printed document with a number of pages. Flipbook creates an illusion of turning when moved from one page to another.
Why Flipbook? Long pdfs are often boring to read. Therefore converting PDFs into realistic PDF flipbooks will increase the chance of visitors reading your content. As a result, staying a long time on your website.
What Am I supposed to do?
We have also created a tutorial video that you can follow as you see. In other words, you can have a look at the video below; or keep reading the article. But we assume you have enough knowledge about WordPress posts and Divi theme and you are already using the Divi theme on your website.
Step 1: Download dFlip PDF FlipBook Plugin
For this tutorial, we will start by downloading 3D Flipbook – dFlip Plugin from WordPress.org. That is a lite version available a WordPress official repo and limits to 20 pages, but for the sake of this tutorial, that is sufficient. In case, you are happy with the plugin you can jump ahead and purchase the premium version of the dFlip – 3D Flipbook plugin.
Step 2: Upload the plugin, Install & Activate
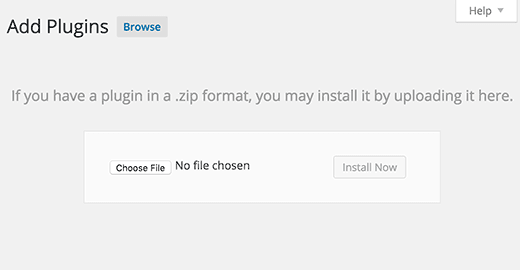
After downloading 3D Flipbook – dFlip, come back to your WordPress admin section. Go to Plugin > Add New. Click on upload plugin button then click on Choose File, locate the downloaded plugin on your computer and then click on Install Now. After installing don’t forget to activate the plugin.
Step 3: Add New PDF Flipbook
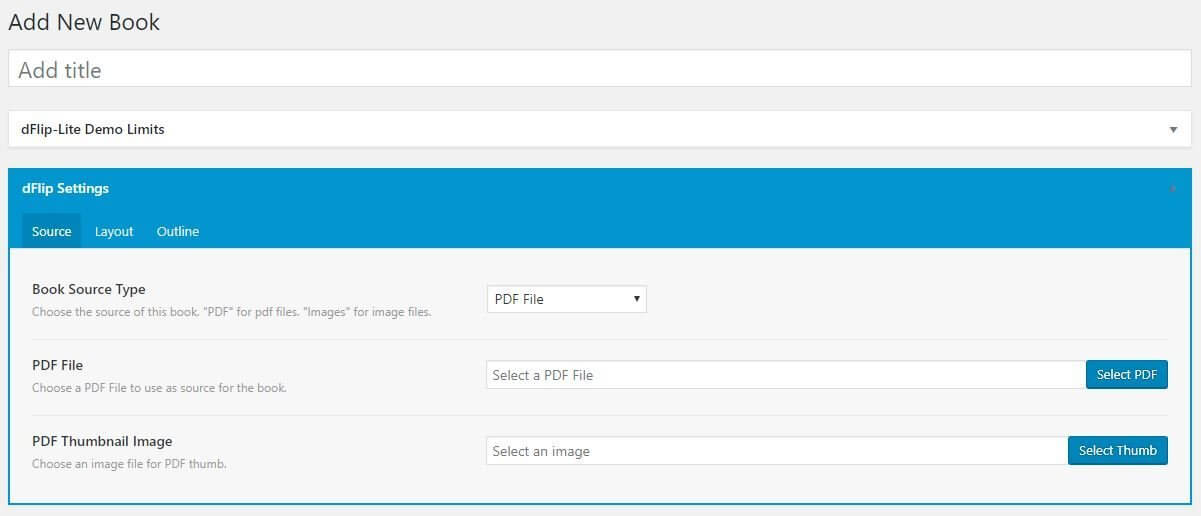
After the plugin is downloaded, installed, and activated, now its time to create a realistic flipbook from your pdf file. For this, go to dFlip Books > Add New Book
Step 4: Select your PDF File
Firstly, choose a Book Source Type. You should choose “PDF” for PDF files. “Images” for image files. In this article, we are going to create a flipbook with PDF File so we go with “PDF”.
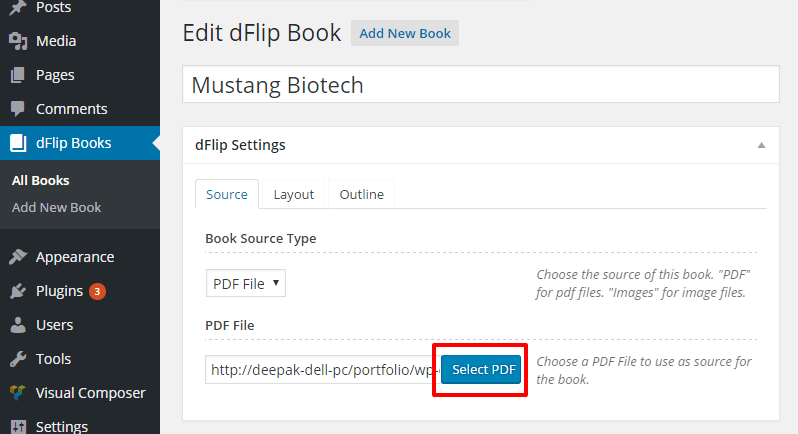
Secondly, upload a PDF File to use as a source for the book.
And lastly, if you want the flipbook to appear as thumb lightbox, select a PDF Thumbnail Image for PDF thumb.
Step 5: Save post & copy the shortcode of the required mode.
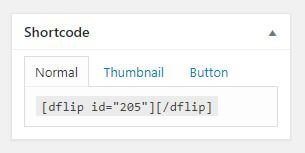
To generate the shortcode, click on Save Draft. Shortcode will be generated immediately after clicking on save draft. You can copy the shortcode of the desired view mode.
Step 6: Paste the Shortcode (Display your PDF Flipbook)
Finally, paste the Shortcode in any existing post inside the code block. Or you can create a new post and paste Shortcode inside it. For this go to Posts> Add New Post> Add Block > Code
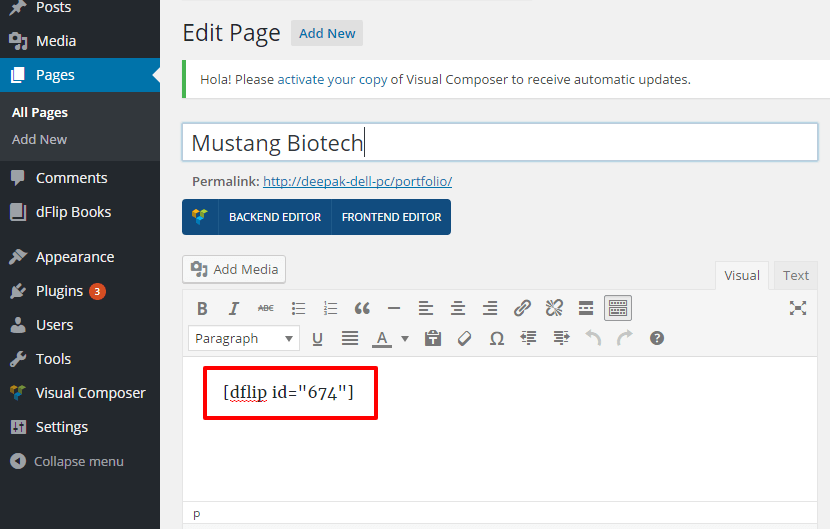
And your Flipbook is ready.
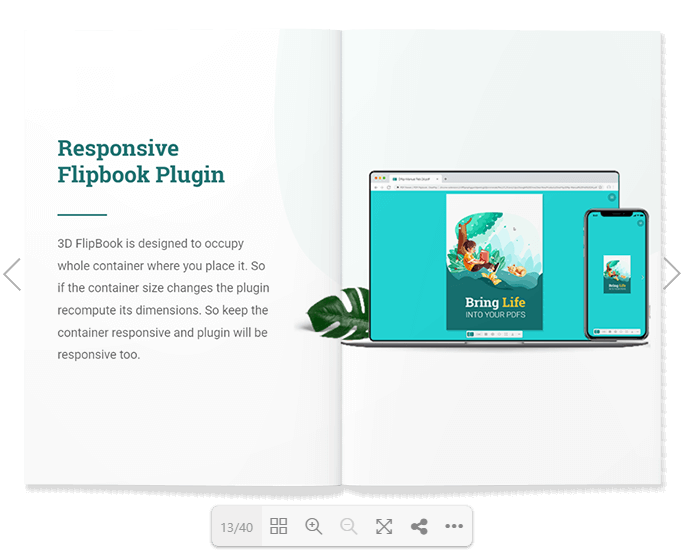
Step 7: Customize your PDF Flipbook (If Needed)
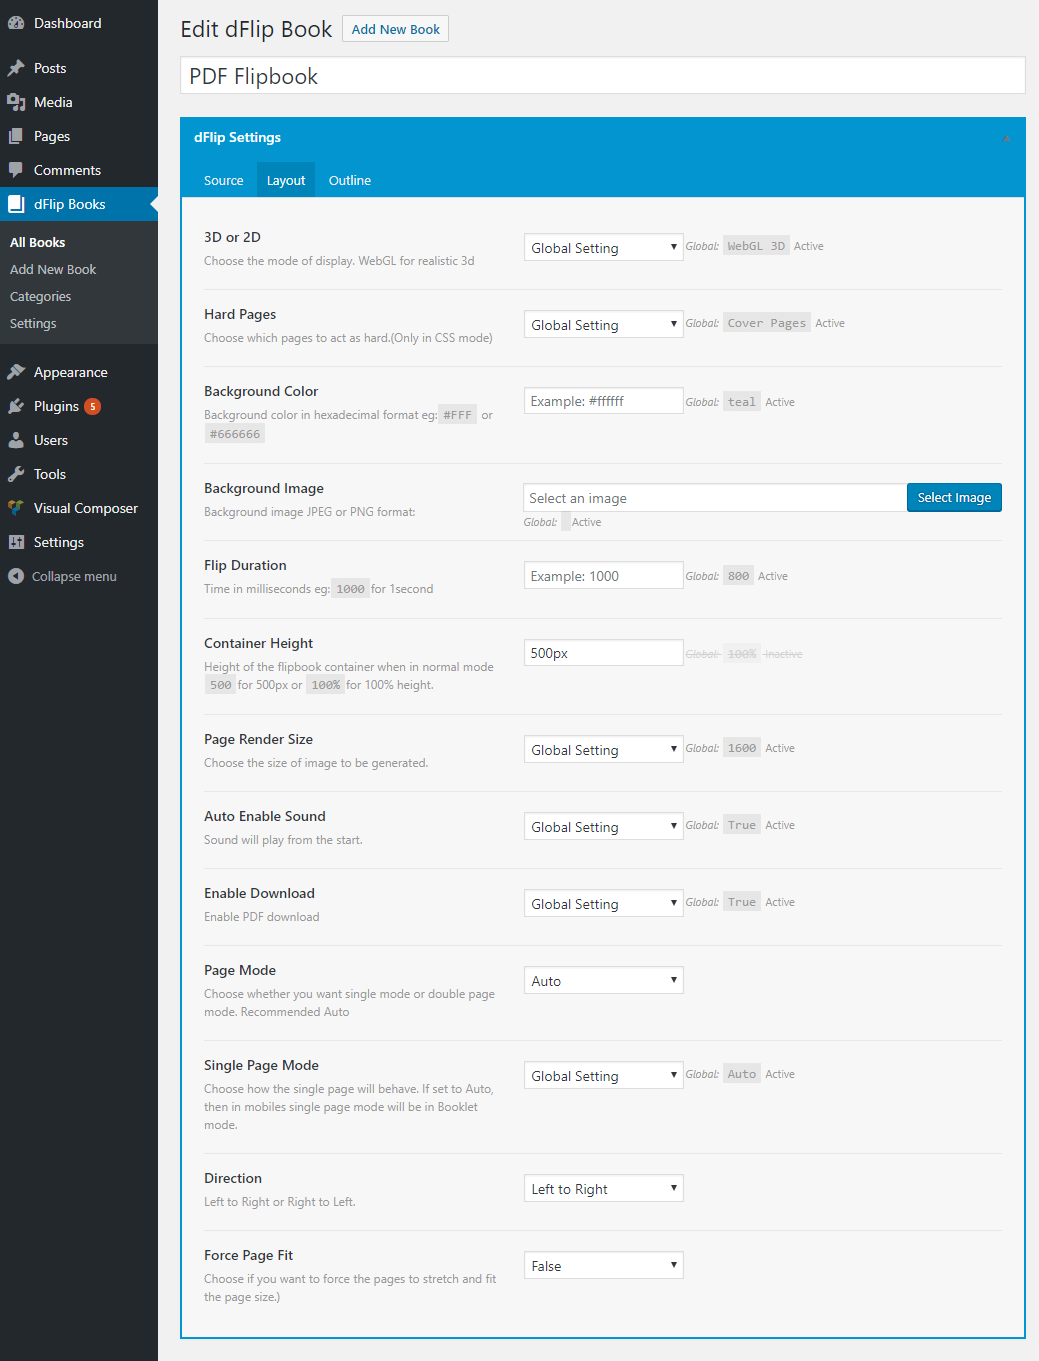
After your flipbook is ready you can always go to dFlip Books > All Books and edit the book you want to customize. , its layout as well as outlines. 3D Flipbook – dFlip offers lots of options for its users to customize.

All DearFlip comments and discussion have been moved to
https://github.com/dearhive/dearflip-js-flipbook/discussions